Ever wondered what it takes to get your Tesla charging setup sorted at home? Perhaps you’re curious about whether you can tackle the installation yourself, or maybe you’re trying to figure out the costs involved? You’re not alone—thousands of Australian Tesla owners face these same questions every year.
Getting your Tesla charger installed properly isn’t just about convenience. It’s about safety, efficiency, and making the most of your electric vehicle investment. A well-planned installation can save you money on your electricity bills, reduce charging times, and give you peace of mind knowing everything’s been done right.
In this guide, we’ll walk you through everything you need to know about tesla charger installation Melbourne. From understanding your charging options to finding the right installer, preparing your home, and even exploring smart charging features, we’ve got you covered. Whether you own a house or rent an apartment, you’ll find practical tips to make your installation process as stress-free as possible.
Understanding Your Tesla Home Charging Options
Tesla Wall Connector vs Mobile Connector: Which Is Right for You?
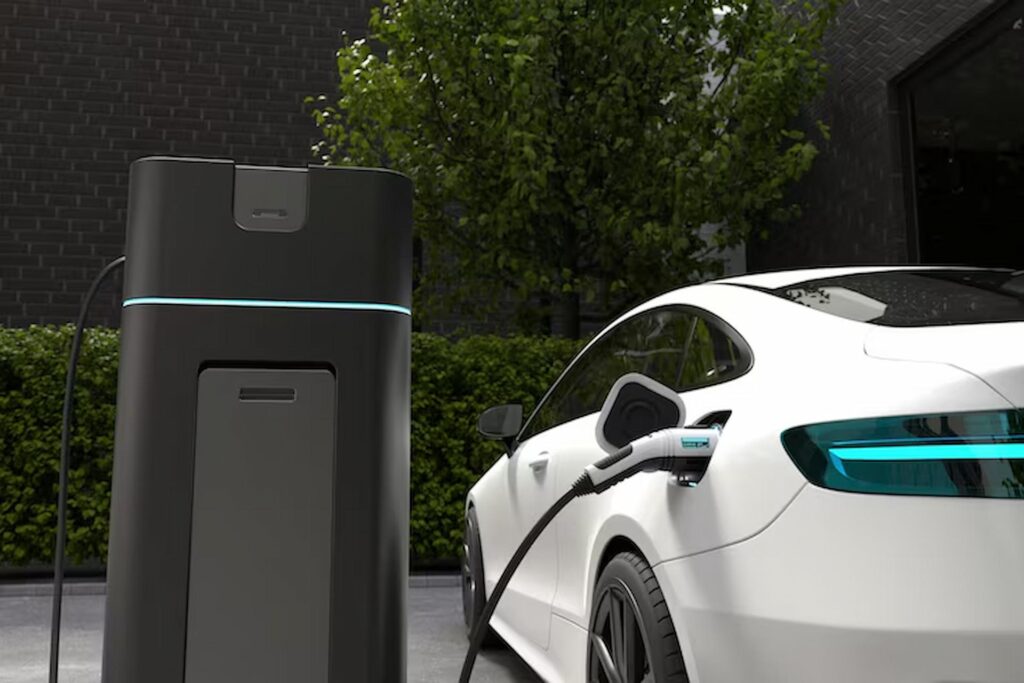
When it comes to charging your Tesla at home, you’ve got two main choices. The Tesla Wall Connector is the premium option, delivering faster charging speeds and a sleek, permanent installation. It’s perfect if you’re planning to stay in your home long-term and want the quickest possible charge overnight.
The Mobile Connector, on the other hand, offers flexibility. It comes with your Tesla and can plug into various outlets, making it ideal for renters or those who travel frequently. While it charges slower than the Wall Connector, it’s portable and doesn’t require professional installation.
What Are the Different Levels of EV Charging?
Level 1 charging uses a standard household outlet and is the slowest option—think trickle charging overnight. Level 2 charging, which the Wall Connector provides, uses a 240-volt connection and can fully charge your Tesla in just a few hours. Level 3 is DC fast charging, typically found at public Supercharger stations rather than homes.
Planning Your Tesla Charger Installation
Assessing Your Home’s Electrical Capacity
Before booking an installation, you’ll need to check whether your electrical system can handle the extra load. Most Australian homes have either 40-amp or 63-amp main switches. A Tesla Wall Connector typically requires a dedicated 32-amp circuit, so there needs to be enough spare capacity.
An electrician can perform a load assessment to determine if upgrades are necessary. This step is crucial—overloading your electrical system creates serious safety risks.
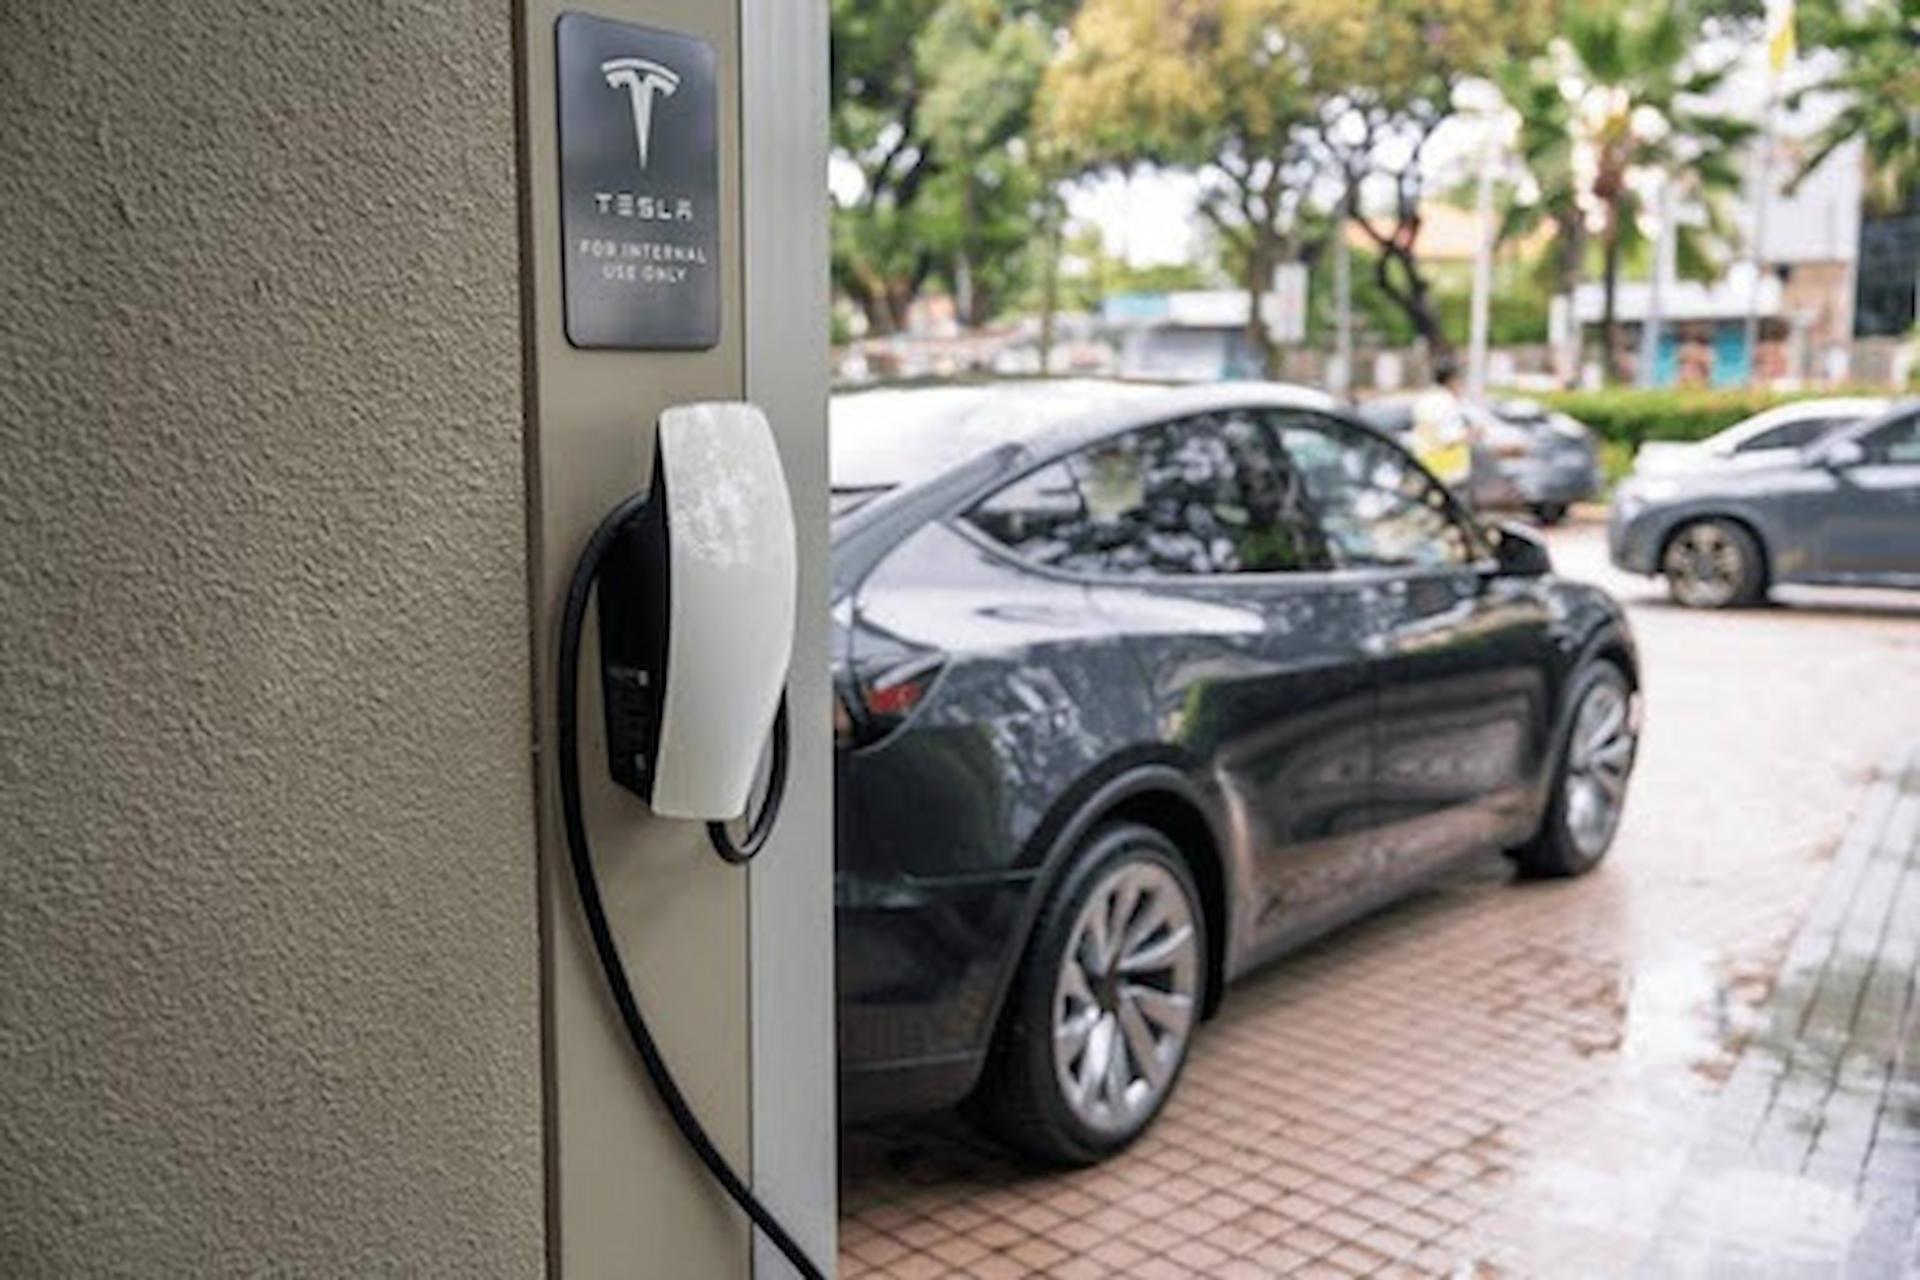
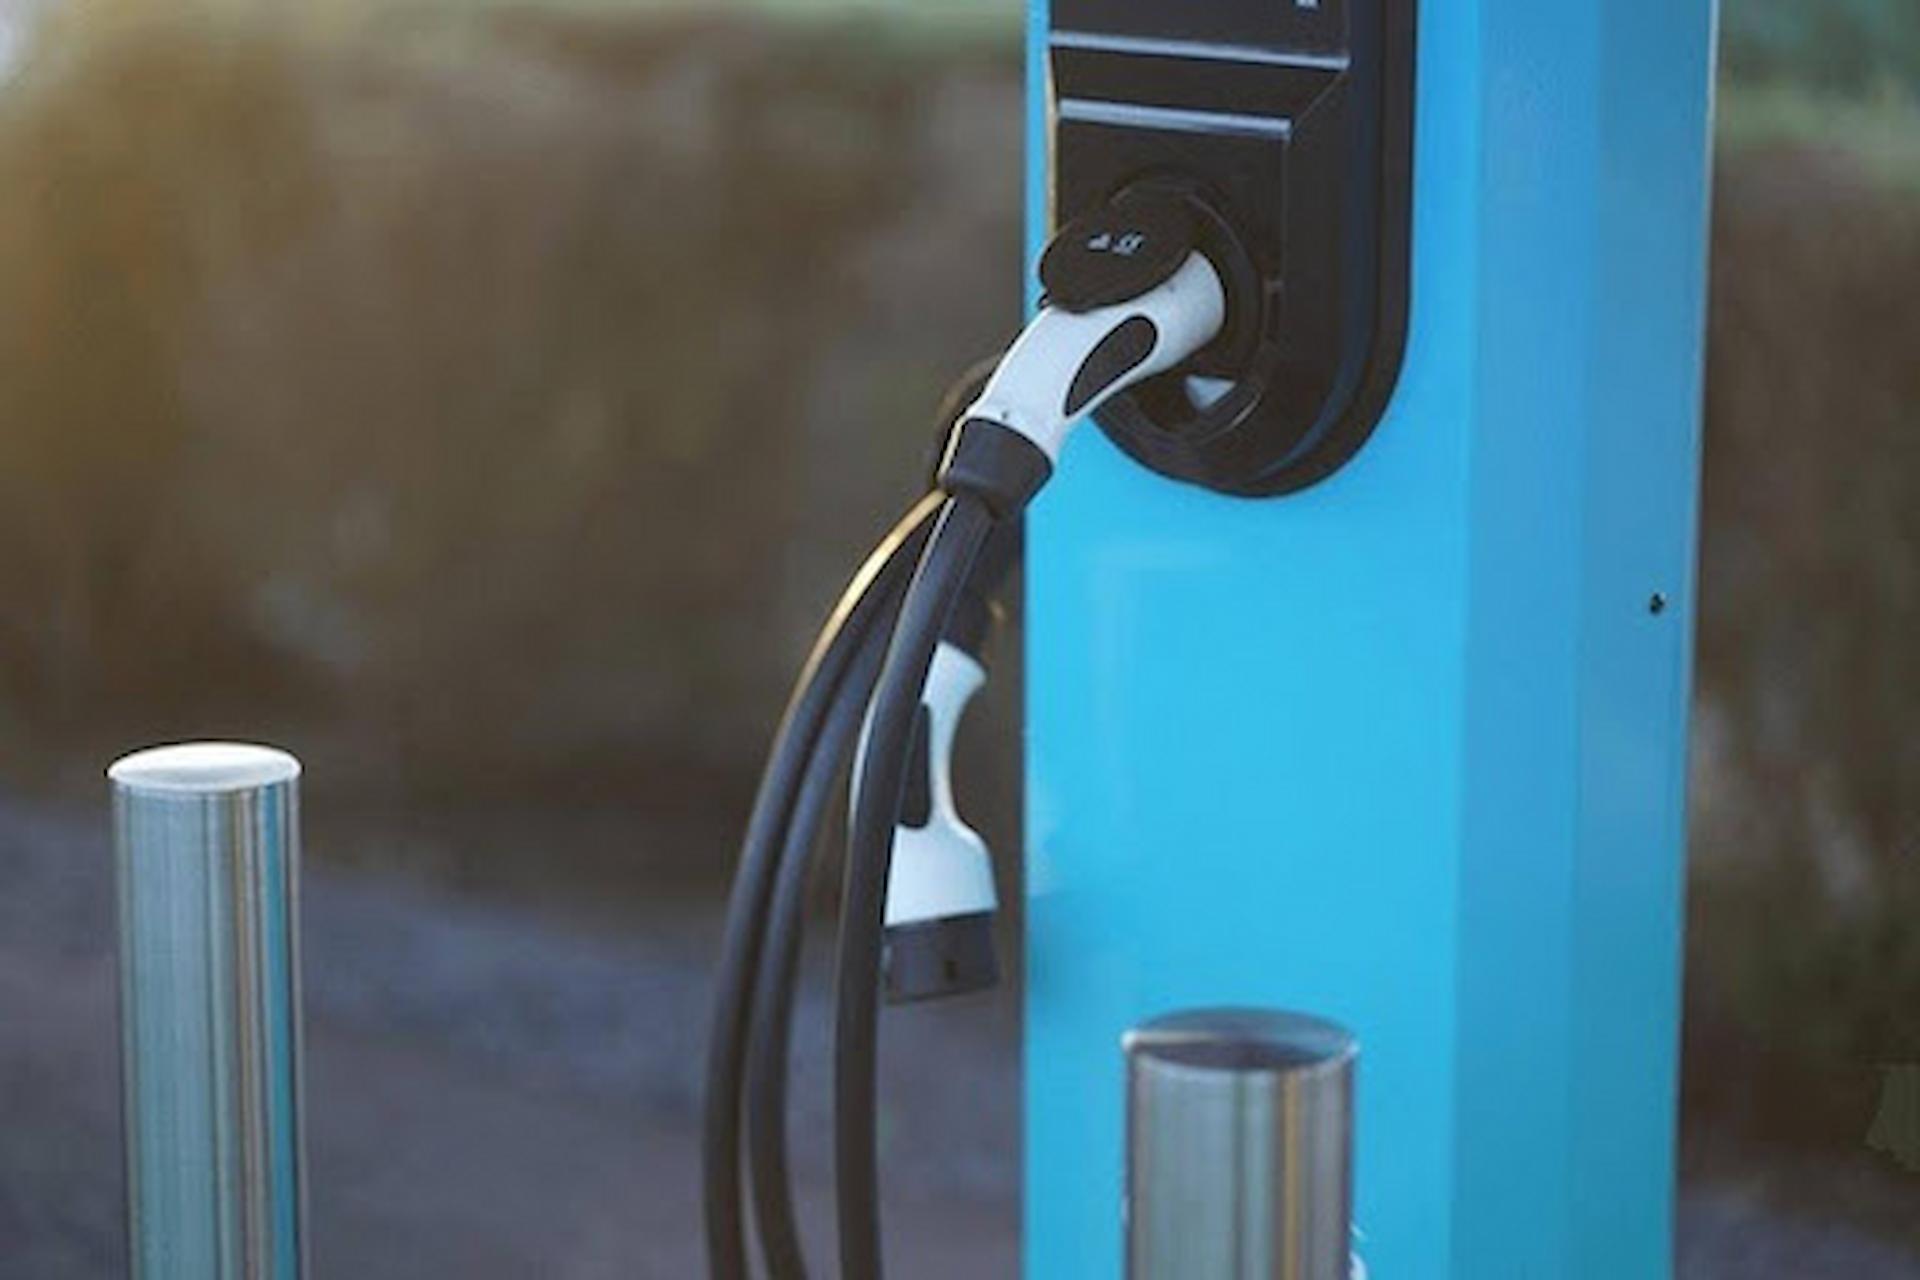
Choosing the Best Location for Your Tesla Wall Connector
Think about where you park your car most often. The charger should be within easy reach of your Tesla’s charge port, which is located on the rear left side. Most people install their Wall Connector in the garage, but outdoor installations work perfectly well with appropriate weatherproofing.
Consider cable length too. A shorter cable run from your switchboard means lower installation costs. Plus, keeping the charger close to your parking spot makes daily use much more convenient.
Do You Need a Licensed Electrician to Install a Tesla Charger?
Absolutely—this isn’t optional. In Australia, all electrical work must be completed by a licensed electrician. Attempting a DIY installation not only voids your warranty but also creates serious safety hazards and potential legal issues.
Beyond licensing, many Tesla owners prefer working with installers who have specific EV charger experience. They understand the nuances of Tesla’s systems and can troubleshoot any issues that arise.
Finding a Certified Tesla Charger Installer Near You
Start by checking Tesla’s website for recommended installers in your area. You can also search for electricians who specialise in EV charging installations. Local EV owner forums and Facebook groups are goldmines for personal recommendations from fellow Tesla drivers.
Questions to Ask Before Hiring an EV Charger Installer
Before committing to an installer, ask these key questions:
– Are you licensed and insured for electrical work?
– Have you installed Tesla Wall Connectors before?
– Can you provide references from previous EV charger installations?
– What’s included in your quote, and what might cost extra?
– Do you handle the necessary permits and inspections?
Getting clear answers upfront prevents surprises down the track.
Preparing Your Home for Tesla Charger Installation
How Long Does Tesla Charger Installation Take?
A straightforward installation typically takes between two and four hours. If your home needs electrical upgrades, expect the process to take a full day or possibly two separate visits.
Factors affecting installation time include the distance from your switchboard to the charger location, whether walls need to be drilled through, and any unexpected issues with your existing wiring.
The Tesla Charger Installation Process: Step by Step
What to Expect on Installation Day
On installation day, your electrician will first confirm the charger location and cable route. They’ll then isolate your power supply before beginning work on the switchboard. The dedicated circuit will be installed, cables run to the mounting location, and the Wall Connector securely fitted.
Once physical installation is complete, the electrician will test everything thoroughly. They’ll configure the charger settings and demonstrate how to use it. Finally, they’ll provide you with a certificate of compliance—keep this safe for your records.
Common Installation Challenges and How to Avoid Them
Some issues crop up regularly during Tesla charger installations. Limited switchboard capacity is perhaps the most common, often requiring an upgrade that adds time and cost. To avoid surprises, have your electrical capacity assessed before committing to an installation date.
Long cable runs can also complicate installations. If your parking spot is far from your switchboard, discuss this with your installer upfront. They may suggest alternative mounting locations or quote for additional cabling.
Can You Install a Tesla Charger Yourself?
While the Tesla Wall Connector is designed for relatively simple mounting, the electrical connection must be done by a licensed professional. You might be tempted to save money by doing some preparation work yourself, like drilling mounting holes or running cables through conduit.
However, we’d recommend leaving everything to the professionals. Even seemingly simple tasks can go wrong, and any mistakes could affect your warranty or insurance coverage. The peace of mind that comes with professional installation is worth the extra cost.
Tesla Charger Installation for Apartments and Renters
Strata Approval and Body Corporate Considerations
Installing a charger in an apartment block adds extra steps to the process. You’ll typically need strata or body corporate approval before any work begins. This can take weeks or even months, so start the conversation early.
Prepare a detailed proposal explaining the installation, including how electricity will be metered and billed. Some buildings are now proactively installing EV charging infrastructure to boost property values. If your building hasn’t considered this yet, you might be starting an important conversation.
Maximising Your Tesla Charging Setup
Integrating Solar Panels with Your Tesla Charger
If you’ve got solar panels on your roof, pairing them with your Tesla charger makes brilliant sense. You can charge your car using free, clean energy from the sun. Many Tesla owners program their charger to draw power during peak solar production hours, typically midday.
The Tesla app allows you to schedule charging times, making solar integration straightforward. Some owners even pair their setup with a Powerwall to store solar energy for overnight charging.
Smart Charging Features and Energy Savings
Your Tesla Wall Connector offers smart features that help reduce electricity costs. Scheduled charging lets you take advantage of off-peak electricity rates, which are significantly cheaper in most Australian states. The Tesla app gives you complete control over when and how your car charges.
Load sharing is another clever feature. If you have multiple Tesla vehicles, the Wall Connector can distribute power between them automatically.
Getting Started with Your Tesla Charger Installation
Installing a Tesla charger at home is one of the best investments you can make as an EV owner. We’ve covered the key considerations—from choosing between the Wall Connector and Mobile Connector, to planning your installation, finding the right electrician, and preparing your home.
The most important takeaway? Don’t cut corners on professional installation. Yes, it costs more upfront, but the safety, warranty protection, and peace of mind are absolutely worth it. Take time to get multiple quotes, ask plenty of questions, and choose an installer with proven EV charging experience.
Ready to get started? Begin by assessing your electrical capacity and deciding on your charger location. Then reach out to a few certified installers for quotes. Before you know it, you’ll be enjoying the convenience of waking up to a fully charged Tesla every morning. That’s a game-changer for your daily routine—and your wallet.